

Disclosure: This post contains affiliate links. We may receive a commission if you make a purchase through these links, at no extra cost to you.
Creating professional videos used to feel overwhelming. I remember spending hours trimming clips, syncing music, adjusting timing, and trying to get the voiceovers just right. Often, I would end up frustrated, questioning whether making videos was really worth all the effort. Then I discovered InVideo AI, and everything changed. Suddenly, I could turn blog posts, ideas, or scripts into polished videos in minutes. No long editing sessions, no complicated software, just fast and professional results.
In this guide, I’ll explain what InVideo AI is. I’ll share my experience, key features, pricing, and tips to get the best results.
What is InVideo AI?
InVideo AI is an online video creation platform powered by artificial intelligence. Unlike traditional video editing software, you don’t need to spend hours cutting clips or adjusting music manually. You simply provide your idea, script, or even a blog post, and the AI automatically creates a polished video complete with visuals, captions, music, and voiceovers.
It’s ideal for:
- Content creators who want to make engaging videos quickly
- Small businesses promoting products or services
- Teachers or coaches creating lessons or tutorials
- Bloggers turning articles into videos
- Social media marketers who need eye-catching content fast
Personal Experience: The first time I used InVideo AI, I turned a blog post about productivity tips into a short, 60-second video in under 10 minutes. Normally, this process would have taken me hours, with multiple software tools open at once. That’s when I realized AI could actually save time without compromising quality.
Why InVideo AI Stands Out
There are many video creation tools available today Canva, CapCut, and Adobe Premiere Pro among them. But InVideo AI stands out because it combines simplicity with professional-quality output. You don’t need prior editing experience. The AI handles the tedious tasks while letting you maintain creative control.
Here’s what I found particularly useful:
- Speed: What used to take hours now takes minutes.
- Customization: You can adjust visuals, music, voiceovers, and branding.
- Accessibility: Everything is online, no heavy software downloads required.
Key Features of InVideo AI
Here’s a detailed look at the features that make InVideo AI so powerful:
| Feature | Description | User-Friendly Rating (⭐) |
| AI Script to Video | Converts text or blog posts into full videos | ⭐⭐⭐⭐⭐ |
| AI Voiceovers | Realistic voice in multiple accents and languages | ⭐⭐⭐⭐ |
| Stock Media Library | Millions of free videos, images, and music clips | ⭐⭐⭐⭐⭐ |
| Custom Branding | Easily add logos, brand colors, and fonts | ⭐⭐⭐⭐ |
| Auto Captions | Automatically generates subtitles | ⭐⭐⭐⭐ |
| Editing Tools | Drag-and-drop editor for fine-tuning | ⭐⭐⭐⭐ |
| Multi-Platform Export | Optimized for YouTube, Instagram, and Facebook | ⭐⭐⭐⭐⭐ |
These features mean that you can focus on creating content rather than getting lost in technical details. For example, AI voiceovers save me time while making the videos sound professional, and the stock media library provides clips I would otherwise have to search for manually.
Step-by-Step Guide: How to Use InVideo AI
Here’s the exact workflow I follow to create videos using InVideo AI. I’ve included personal tips that help speed up the process while keeping videos engaging.
Step 1: Sign Up and Log In
Go to the InVideo AI website and sign up using your email or Google account. The interface is simple and user-friendly, even if you’re new to video editing.
Step 2: Input Your Video Idea
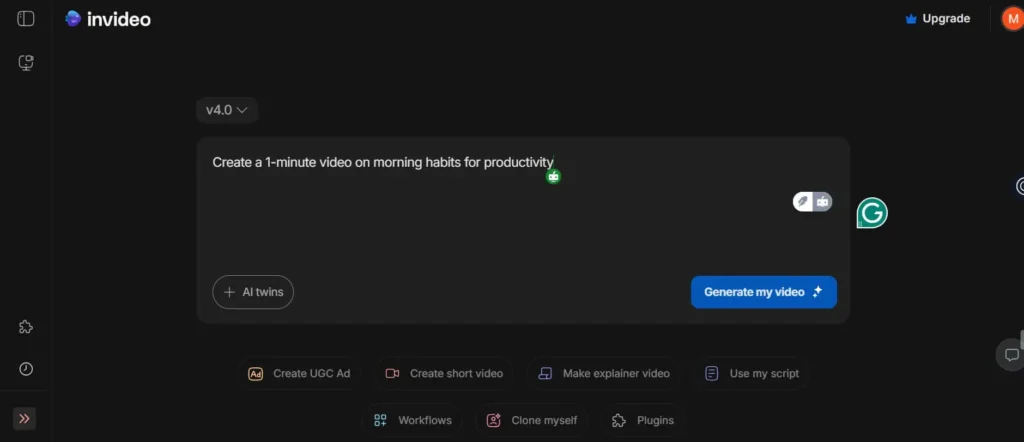
Click on “AI Video Generator” and type your video idea.
Example Prompt: “Create a 1-minute video on morning habits for productivity.”
The AI will generate a script, select relevant stock clips, and even match voiceover options automatically. This step usually amazes first-time users because the AI can take a blog post and almost instantly turn it into a coherent video structure.
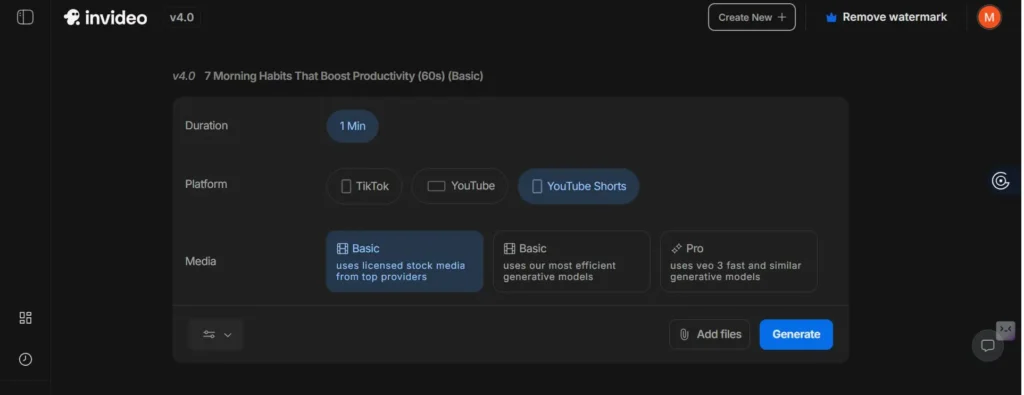
Step 3: Review and Customize
Even though the AI does most of the work, customization is important for personal branding. You can:
- Swap stock clips for your own videos
- Adjust music, voiceovers, and captions
- Add logos, colors, and fonts
Pro Tip: I always tweak the first scene and add my logo. It makes the video feel more personal and professional.
Step 4: Export Your Video
Once you’re happy with the result, click Export. You can choose HD or 4K resolution depending on your plan. The video is ready to download or share directly on social media platforms like YouTube, Instagram, or Facebook.
Pricing Plans (2025 Update)
Here’s the updated pricing for InVideo AI:
| Plan | Best For | Features | Price |
| Free | Beginners | 5 min video/month, watermark, limited media | ₹0 |
| Business | Regular creators | 60 HD videos/month, watermark-free, premium media | ₹1,200/month |
| Unlimited | Agencies & brands | Unlimited videos, 4K exports, priority support | ₹2,500/month |
Why I Recommend InVideo AI
I’ve used several tools before, including Canva, CapCut, and Adobe Premiere Pro. While all are capable, none have the ease-of-use combined with professional output that InVideo AI offers.
Personal Story: One morning, I created a 60-second Instagram video in just 7 minutes. It included visuals, music, captions, and voiceovers. The engagement was better than my manually edited videos that took hours. The experience was a revelation — AI doesn’t just save time; it enhances creativity.
Pros and Cons of InVideo AI
| Pros | Cons |
| Very beginner-friendly | Free plan has watermark |
| Fast video creation | Requires internet connection |
| AI voiceovers included | Some templates are premium-only |
| Affordable pricing | Limited offline functionality |
Best Use Cases for InVideo AI
InVideo AI is versatile and works well for many different creators. Common use cases include:
- YouTube Shorts & Reels – Quickly create trending short videos.
- Social Media Marketing – Eye-catching content for Instagram, Facebook, or LinkedIn.
- Educational Tutorials & Lessons – Teachers or coaches can save hours creating instructional content.
- Blog-to-Video Conversion – Turn articles or tips into engaging video snippets.
Tips to Get the Best Results
Here are my tried-and-tested tips for using InVideo AI effectively:
- Use clear, specific prompts. The AI works best when you give it detailed instructions.
- Add personal clips or voiceovers. This makes videos authentic and relatable.
- Experiment with AI voices. Different tones can create different moods.
- Use templates for speed. They save time while keeping videos visually appealing.
- Review visuals before exporting. Even a short tweak can make a video feel professional.
- Combine AI output with manual edits. A small personal touch often improves engagement.
Personal Tips for Beginners
- Start with short videos — 30–60 seconds is perfect for testing.
- Keep a content library of personal clips and logos. This saves time for future videos.
- Avoid overloading with effects. Simplicity often performs better.
- Use subtitles for accessibility — InVideo AI adds these automatically.
Conclusion
Creating high-quality videos doesn’t have to be stressful or time-consuming. InVideo AI makes the process fast, simple, and professional. Even complete beginners can create polished videos in just a few minutes.
From AI voiceovers to stock media and automatic captions, InVideo AI handles the heavy lifting. You can focus on creativity and messaging instead of tedious editing.
Personally, using InVideo AI has saved me countless hours while producing videos that look professional. Bloggers, social media creators, teachers, and small business owners will all benefit.
Start small. Experiment with prompts, templates, and personal clips. You’ll see how much easier video creation can be.
SEE: 5 Free AI Tools That Will Save You 2 Hours Every Day in 2025